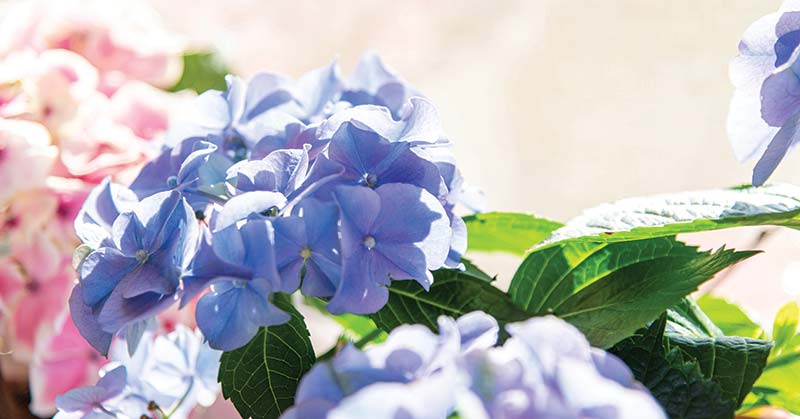
Hydrangeas, with their beautiful blooms and lush foliage, are a favorite among gardeners worldwide. Starting a hydrangea from a cutting is not only an economical way to propagate these stunning plants, but it’s also a rewarding gardening experience.
Here’s a step-by-step guide to help you successfully start a hydrangea from a cutting.
Step 1: Choosing the Right Time
Timing is crucial for the success of hydrangea propagation. The best time to take a cutting is in late spring or early summer, when the plant’s new growth is still tender and green.
Avoid taking cuttings from woody, mature stems, as they have a lower success rate.
Step 2: Selecting and Preparing the Cutting
Look for a healthy branch with new growth. The ideal cutting should be about 4 to 6 inches long, with at least three sets of leaves. Using sharp, clean pruning shears, make a cut just below a leaf node (the point where a leaf attaches to the stem).
Remove the lower leaves, leaving only the top two or three sets intact. If the remaining leaves are large, you can cut them in half horizontally to reduce water loss through evaporation.
Step 3: Rooting Hormone Application
Dip the cut end of the hydrangea cutting into a rooting hormone. This step is optional but highly recommended as it encourages root development and increases the chances of successful propagation.
Step 4: Planting the Cutting
Fill a pot with a well-draining potting mix. Make a small hole in the center of the soil and insert the cutting, ensuring that at least one set of leaf nodes is buried beneath the soil surface. Gently firm the soil around the cutting for stability.
Step 5: Creating a Humid Environment
Hydrangea cuttings require a humid environment to root successfully. Cover the pot with a plastic bag or place it in a mini greenhouse to maintain high humidity. Ensure the plastic does not touch the leaves by propping it up with sticks or a frame.
Place the pot in a location with bright, indirect light and avoid direct sunlight, which can overheat and damage the cutting.
Step 6: Watering and Care
Keep the soil consistently moist but not waterlogged. Check the soil moisture regularly and water gently as needed. Avoid letting the soil dry out completely or become too soggy.
Step 7: Checking for Root Development
Roots usually begin to form within 4 to 8 weeks. To check for root development, gently tug on the cutting. If there is resistance, it indicates that roots have formed.
Step 8: Transplanting
Once the cutting has established a good root system, it can be transplanted into a larger pot or directly into the garden. If you’re planting it outdoors, choose a location that receives morning sun and afternoon shade and has well-draining soil.
Step 9: Ongoing Care
Water your new hydrangea regularly, especially during the first growing season. Apply a balanced, slow-release fertilizer to encourage healthy growth. As your hydrangea grows, prune it annually to maintain its shape and size and to encourage blooming.
Conclusion
Propagating hydrangeas from cuttings is a simple and enjoyable way to expand your garden. With patience and proper care, your hydrangea cuttings will develop into beautiful, blooming plants that add charm and color to your garden for years to come.
FAQs on How do you Start a Hydrangea from a Cutting
Q: What is the best time of year to take hydrangea cuttings?
A: The ideal time to take hydrangea cuttings is in late spring or early summer, when the plant’s new growth is tender and green.
Q: How long should a hydrangea cutting be?
A: A hydrangea cutting should be about 4 to 6 inches long, with at least three sets of leaves.
Q: Should I use rooting hormone for hydrangea cuttings?
A: While not mandatory, using rooting hormone is recommended as it helps in stimulating root growth and increases the success rate of propagation.
Q: How do I prepare the soil for planting hydrangea cuttings?
A: Use a well-draining potting mix. It’s important to provide a balance of moisture retention and drainage for optimal root growth.
Q: How do I maintain the humidity around the cutting?
A: Cover the pot with a plastic bag or place it in a mini greenhouse to create a humid environment. Make sure the plastic doesn’t touch the leaves to prevent mold growth.
Q: How much sunlight do hydrangea cuttings need?
A: Hydrangea cuttings need bright, indirect sunlight. Direct sunlight can be too intense and may harm the delicate cuttings.
Q: How often should I water the hydrangea cutting?
A: Keep the soil consistently moist but not waterlogged. Water the cutting when the top inch of soil feels dry to the touch.
Q: How can I tell if my hydrangea cutting has rooted?
A: Generally, roots form within 4 to 8 weeks. Gently tug on the cutting; if there’s resistance, it’s likely that roots have formed.
Q: When should I transplant the rooted cutting?
A: Transplant the rooted cutting once it has established a good root system, usually a few weeks after roots have formed.
Q: What ongoing care does a newly planted hydrangea require?
A: Water regularly, especially during the first growing season, and apply a balanced, slow-release fertilizer. Prune annually to maintain shape and encourage blooming.


