
Gardening enthusiasts often relish the challenge of growing fruit trees from seeds. Among these, the plum tree stands out for its beautiful blossoms and delicious fruit. Growing a plum tree from a seed is a rewarding, albeit lengthy, process.
This guide will walk you through each step, from seed preparation to planting your young tree.
Understanding Plum Tree Seeds
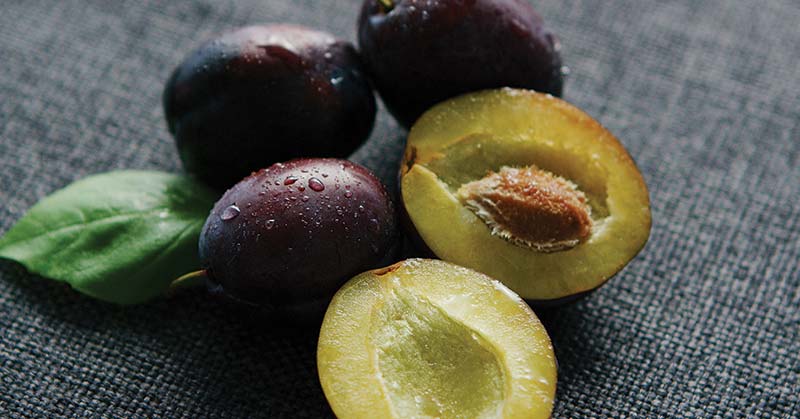
Plum seeds, or pits, contain the genetic material to grow a new tree. However, the tree that grows from these seeds might not be identical to the parent tree due to cross-pollination. This means you might end up with a unique variety!
Step 1: Seed Selection and Extraction
The first step in growing a plum tree from seed is to select a healthy, ripe plum. Ideally, choose organic plums to avoid any issues related to pesticides or other chemicals. Once you’ve enjoyed the fruit, clean the pit thoroughly to remove any flesh, as this can lead to mold or disease.
Step 2: Stratification Process
Plum seeds require a cold period, known as stratification, to germinate. This process mimics the natural winter conditions that the seeds would experience in the wild. To stratify your seeds:
- Moisten a paper towel or peat moss: Slightly dampen, but do not soak, your chosen medium.
- Wrap the seeds: Place the plum pits in the moist medium.
- Store in a plastic bag: Seal the wrapped seeds in a plastic bag.
- Place in the refrigerator: Keep the bag in the fridge for 6-8 weeks. Check periodically to ensure the medium remains moist.
Step 3: Germination
After the stratification period, it’s time to germinate the seeds:
- Prepare a pot with soil: Use a pot with drainage holes and fill it with a mix of potting soil and compost.
- Plant the seeds: Plant the stratified seeds about 2 inches deep in the soil.
- Water regularly: Keep the soil moist but not waterlogged.
- Provide light and warmth: Place the pot in a warm area with plenty of indirect sunlight.
Germination can take several weeks. Be patient and maintain a consistent watering schedule.
Step 4: Transplanting
Once your seedlings have grown a few inches and have a couple of true leaves, it’s time to transplant them. Choose a sunny location with well-draining soil. When transplanting:
- Prepare the soil: Loosen the soil and mix in some compost to provide nutrients.
- Dig a hole: Make a hole large enough to accommodate the root ball of your seedling.
- Transplant the seedling: Carefully place the seedling in the hole and fill it with soil. Gently tamp down the soil around the base of the seedling.
- Water thoroughly: After transplanting, water the seedling well to help establish its roots.
Step 5: Ongoing Care
Plum trees require consistent care to thrive:
- Watering: Young trees need regular watering, especially during dry spells.
- Pruning: Prune in late winter to shape the tree and encourage healthy growth.
- Fertilizing: Use a balanced fertilizer to provide essential nutrients.
- Pest and Disease Management: Regularly inspect your tree for signs of pests or disease and address any issues promptly.
Patience is Key
Remember, growing a plum tree from a seed is a long-term commitment. It can take several years for your tree to mature and produce fruit. However, the satisfaction of nurturing a tree from seed to fruit-bearing maturity is well worth the wait.
In conclusion, while growing a plum tree from seed requires time and patience, the process is incredibly rewarding. By following these steps and providing ongoing care, you can successfully cultivate your own plum tree and enjoy its fruits for years to come.
FAQs on How do you Start a Plum Tree from Seed
Q: Can I use any plum seed to grow a plum tree?
A: Yes, you can use seeds from any plum variety, but keep in mind that the new tree might not produce fruit identical to the parent due to cross-pollination.
Q: How do I extract a plum seed from the fruit?
A: Eat or cut away the flesh of the plum, then clean the pit thoroughly to remove any remaining fruit.
Q: Is it necessary to stratify plum seeds before planting?
A: Yes, stratification, which involves chilling the seeds, is crucial as it mimics the natural cold period that the seeds require to break dormancy and germinate.
Q: How long should plum seeds be stratified in the refrigerator?
A: Plum seeds typically need to be stratified in the refrigerator for 6-8 weeks.
Q: What kind of soil should I use to plant plum seeds?
A: Use a pot with well-draining soil, ideally a mix of potting soil and compost.
Q: How deep should I plant the plum seeds?
A: Plant the plum seeds about 2 inches deep in the soil.
Q: How long does it take for a plum seed to germinate?
A: Germination can vary, but it generally takes several weeks for a plum seed to sprout.
Q: When is the best time to transplant a plum seedling outdoors?
A: Transplant plum seedlings outdoors in the spring, after the last frost, when they are a few inches tall and have a couple of true leaves.
Q: How much water does a young plum tree need?
A: Young plum trees need regular watering to keep the soil moist, especially during dry spells, but avoid waterlogging.
Q: How many years does it take for a plum tree grown from seed to bear fruit?
A: It can take several years, often between 6 to 10 years, for a plum tree grown from seed to mature and start bearing fruit.


